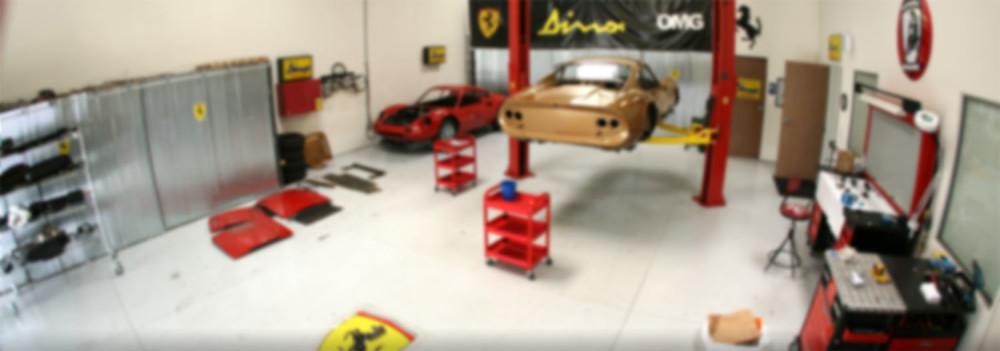
Removing wiring and ventilation

Back to work today after a few days of wakeboarding at Lake Havasu. I’m still working in the trunk area, removing the ignition and pulling all the wiring from the rear. I took out the ventilation fans and part of the ventilation system. Also pulled the radiator hoses through the tunnel, the clutch cable and starter cable. The tubs are growing.


Fuel system, bulkhead pieces, and trunk

Scott I actually do use the heater a little. I never drive it with the top on so it can get a little cool in the evening along the coast. We pulled some more parts off today. We finished with the fuel system, the parts that are part of the USA emissions will not be going back on. We also pulled off the 2 piece engine bulkhead. One piece being aluminum and the other fiberglass. In my 74 they were both aluminum. We pulled the fiberglass trunk which also is 2 piece with insulation in between.

Removing the engine

More work on removing the engine. I tried to follow the steps per the workshop manual and for the most part did. I did have to remove the right fuel tank but that was so I could get the air conditioning compressor which was not mentioned. Other than that I followed the steps and the engine is now out.

More work to get ready for engine removal

We did a little more work getting ready to remove the engine. Still following the removal instruction from the repair manual. We did steps 13-18 which basically consists of removing the heat exchanger, distributor along with the oil filter support unit. We also started on the air conditioning compressor which is not listed in the removal instructions. We removed the right gas tank as I don’t think you can get the compressor out with the tank in place. The number of tubs is beginning to grow!


Getting ready to remove the engine

Jeff is home from school for the summer so he talked me into a job. Part of the job is working with me a couple hours a day on the Dino. Removing the engine is what we’re working on. I’m trying to follow the instructions in the Dino repair manual. A few of the steps we had already done previous. They list 30 steps to remove the engine, we just finished #12. We met a guy at Bella Italia who really wants to paint this one. He’s coming over to the shop Wednesday to look it over.


Some pictures and some oil

I wasn’t planning on doing anything today, but drove the blue Dino up to my shop for some fun pictures. I couldn’t resist and drained the engine oil, gearbox oil, gasoline and coolant. I’m considering removing the engine next week. I’m glad to see others posting their projects, I love to see what others are doing and see the varied talents you all have. I’m always amazed.


TAV 34

Back to work today after picking up Jeff from Utah. Another year of school under his belt, 2 to go. All the suspension is now off the car as I finished TAV 34 today. I’m going to get a roll of white butcher paper as the pink paper from Home Depot doesn’t make the photos look too good. Any suggestions or guesses as to what TAV should be removed next.

TAV 32 and TAV 33

TAV 32 and TAV 33 today. Watch out for the various suspension shims and make notes as they are all different. The red paint job before the black must have been really crappy. There is red overspray everywhere. It sure is way easier the second time around knowing how the parts come off and what sequence to make it easier. No surprises yet, I’m sure there will be some. How many out there currently have some form of Dino restoration going on. Please post pictures. The thread is way more interesting when others are showing their work. Even if it’s something small, let’s see it!!


TAV 27, TAV 28, and TAV 114

Back to work today. I took off all the parts associated with the emergency brake, took out all the carpet and removed the brake calipers. Emergency brake pretty straight forward to remove. Their was heat insulating material in the tunnel by the handbrake totally disintegrated. When removing the carpet be sure to keep the part that surround the pedals. I had to go back on the blue Dino and fabricate this part as heat would come into the cabin from around the pedals. When removing the brake calipers watch for the shims and where they are oriented at. Check first, because when you remove the 2 bolts they will fall out. I had to cut one of the hydraulic lines as there was no way it was going to loosen. All in all a pretty straight forward day.